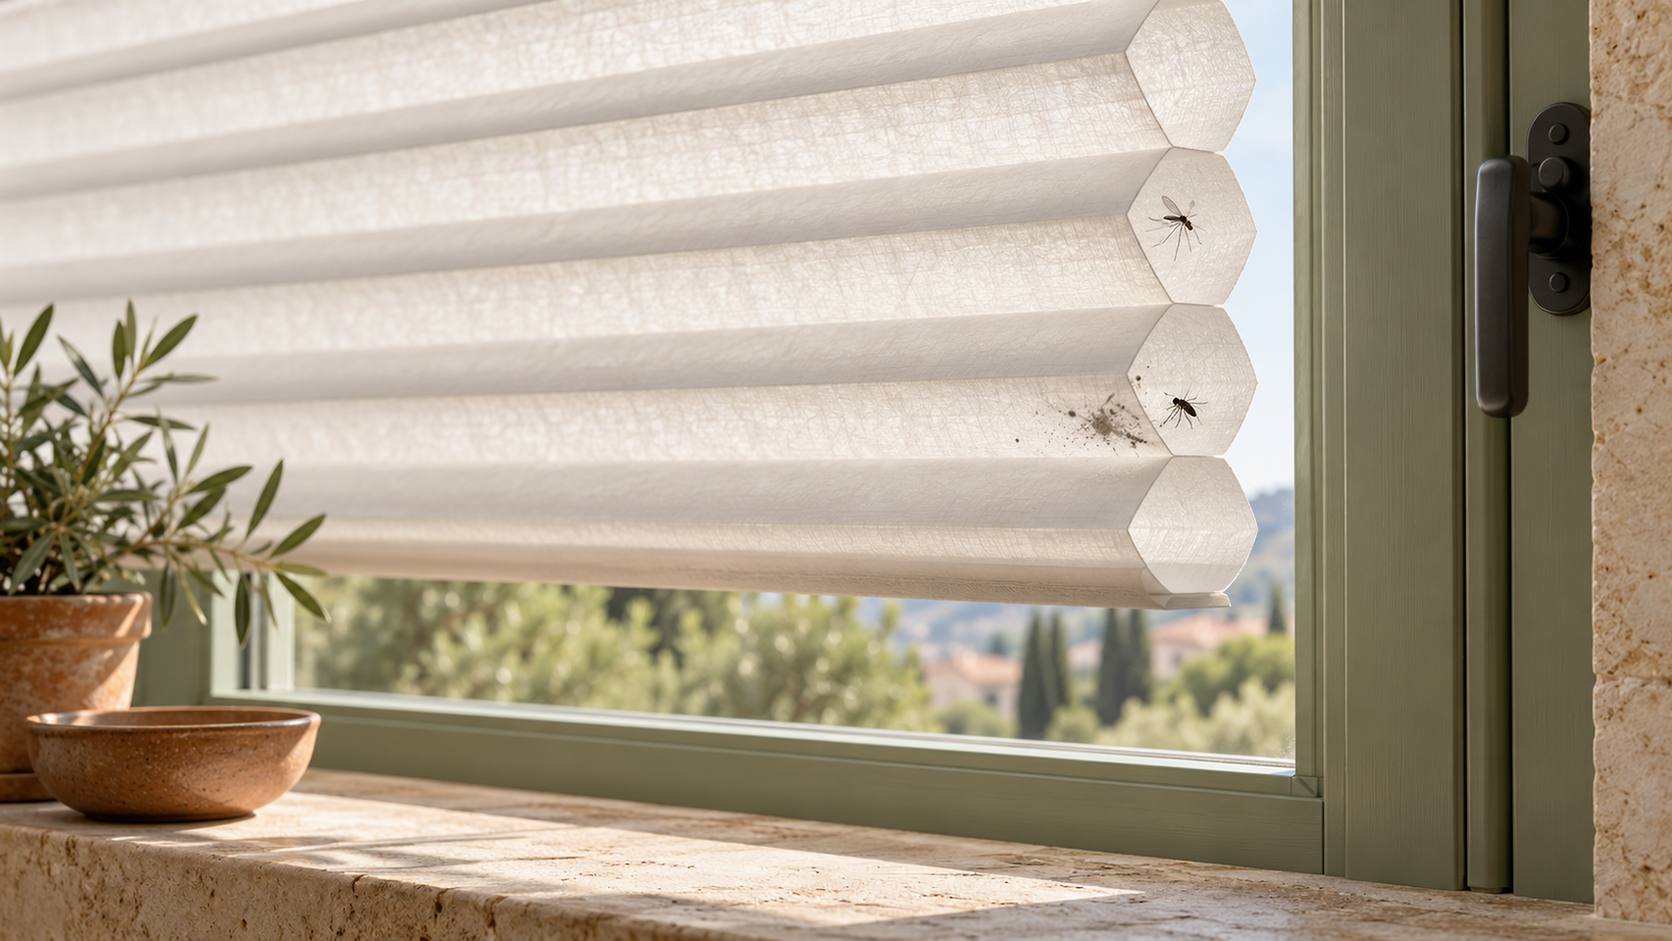
Double-cell honeycomb shades provide strong thermal insulation, but their hollow horizontal chambers easily trap airborne dust and dead insects. When daylight streams through the translucent fabric, every trapped fly or accumulated dust cluster casts an unsightly silhouette. The safest initial step is dry mechanical displacement using cool airflow: never introduce moisture or wash the fabric while dry debris remains inside, as wetting dead insects will create permanent organic stains across delicate non-woven fibres.
Diagnosing trapped debris in cellular structures
Cellular shades feature an accordion structure of glued, non-woven horizontal chambers. In double-cell configurations, two parallel rows of cells interconnect to double the insulating barrier. While effective at regulating thermal transfer, this geometry creates an inviting, sheltered horizontal passage accessible from the open lateral edges next to the window jamb.
Insects such as midges, gnats, and spiders crawl into these open side channels seeking shelter or light. Once inside, they become disoriented, dehydrate, and expire within the narrow hexagonal tunnels. Simultaneously, convection currents set up by temperature differences across the glass draw household lint, skin flakes, and pollen into the horizontal tubes.
Because standard cellular fabrics are translucent, trapped matter is invisible from an oblique angle but appears sharply defined under transmitted daylight. Before attempting removal, verify whether the obstruction is loose, dry particulate or an oily stain caused by previous moisture exposure. Compacted debris must be extracted dry before any topical spot treatment is applied.
Preparation and required equipment
Double-cell fabric is fragile; the polyester or polypropylene non-woven material is heat-creased and bonded with precision adhesives. Excessive mechanical pressure will crease the sharp edges or separate the glue joints permanently.
Prepare the workspace below the window to catch falling debris. Placing an old towel or clean drop sheet on the window sill and floor prevents expelled dust from settling into nearby trim or carpet.
Always test suction strength and airflow on a clean, unobtrusive corner before addressing the main viewing area of the shade.
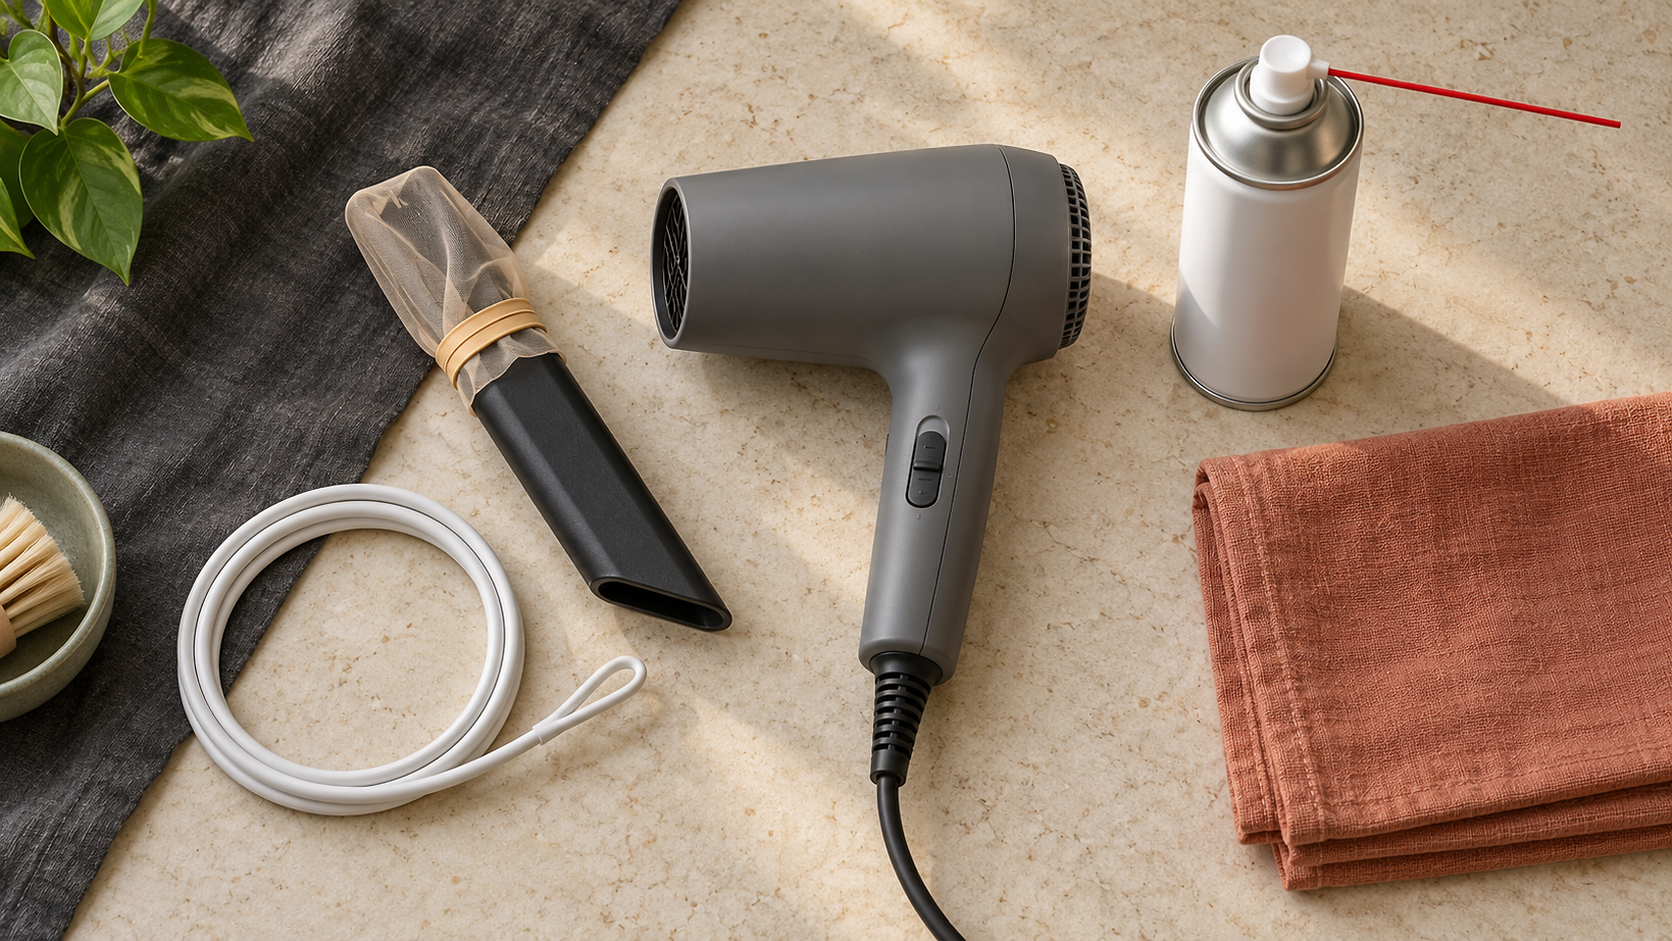
Gather the following dry cleaning tools before beginning:
- Hairdryer featuring a reliable cool-air switch, or a can of compressed air with a narrow extension straw.
- Vacuum cleaner equipped with variable suction control and a soft upholstery brush or smooth crevice nozzle.
- Thin nylon sock or clean cheesecloth secured over the vacuum nozzle with a rubber band to prevent accidental fabric ingestion.
- Smooth, flexible retrieval wire (such as a plastic-coated curtain wire or soft pipe cleaner with folded ends) for stubborn items.
- Drop cloth or washable sheet laid along the sill and adjacent flooring.
Clearing channels using directed airflow and suction
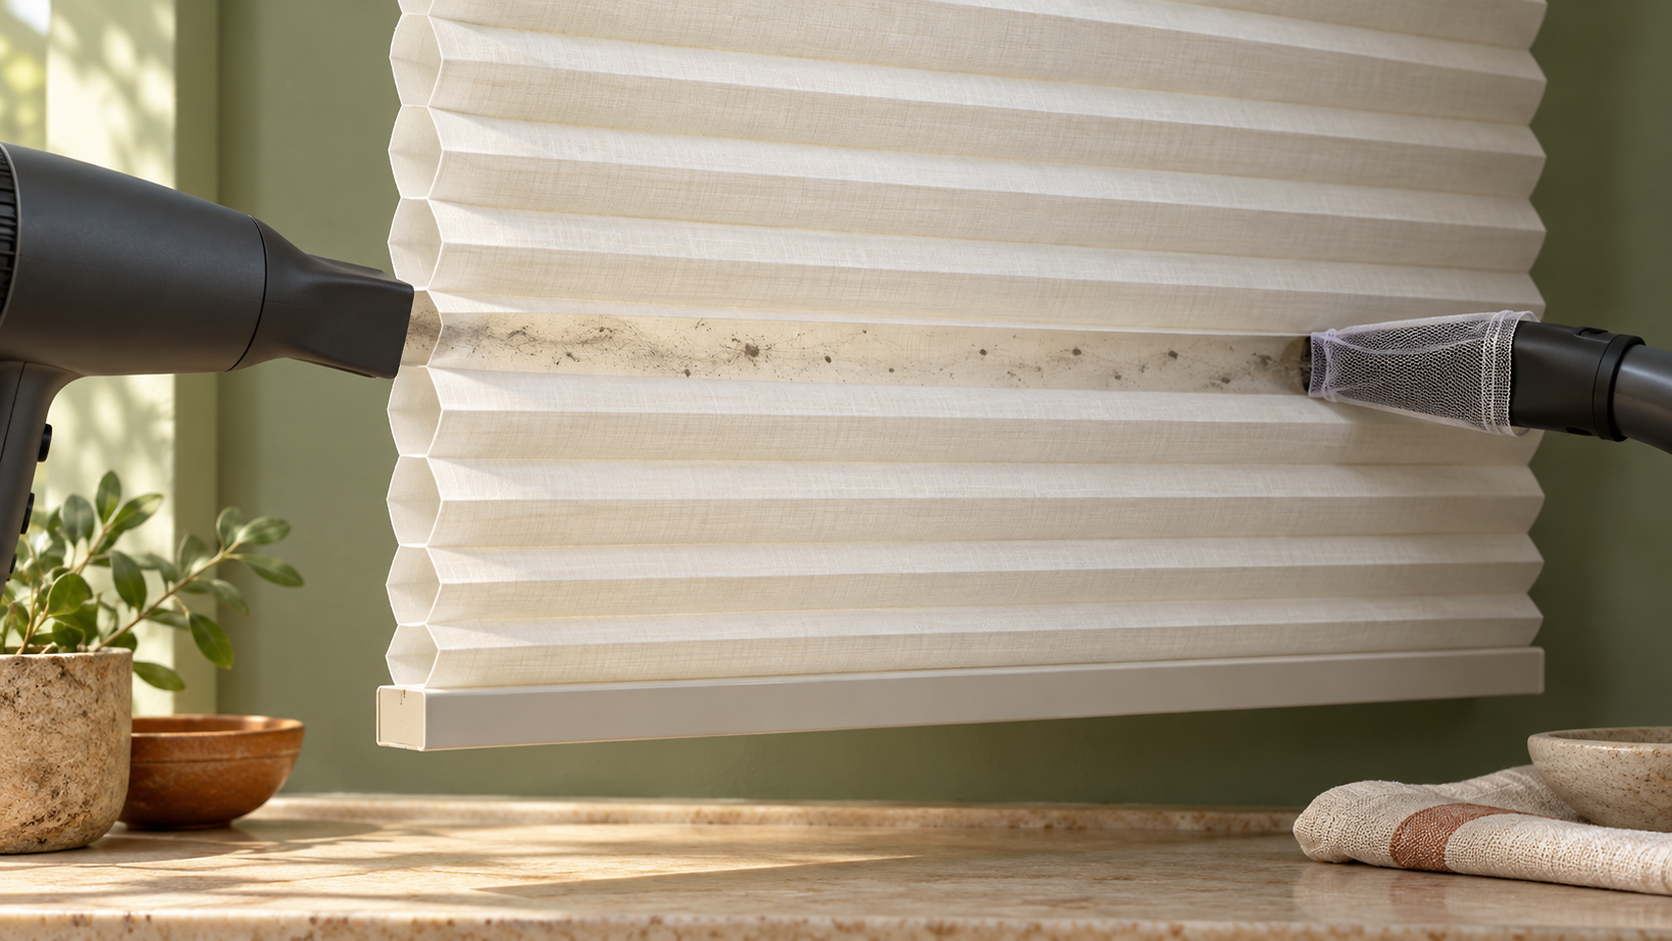
The most reliable method to dislodge debris without crushing the shade requires working down the length of each individual horizontal tube. Applying suction directly against the face of the shade merely pulls the fabric inward against the internal insect, flattening it and risking fabric distortion. Instead, guide airflow straight through the hollow core from one end to the other.
Set your hairdryer strictly to cool air. Heated air can relax the heat-set pleats or soften the adhesive holding the double chambers together, resulting in sagging or uneven cell expansion.
Follow this step-by-step extraction procedure:
- Lower the shade fully so the cells hang at their natural extension without being overstretched or tightly stacked.
- Position the nylon-covered vacuum nozzle directly over the open channel at one side of the shade, creating a loose seal against the outer perimeter of the target cell.
- Insert the nozzle of the cool-air hairdryer or the compressed-air straw into the opposite open end of that exact same horizontal cell.
- Pulse cool air through the channel; the positive air pressure pushes the insect or dust ball toward the waiting vacuum nozzle on the far side.
- Inspect the backlit cell from the room interior to confirm the silhouette has disappeared before advancing to the adjacent cell.
- Work methodically from the highest contaminated channel downward to prevent dislodged dust from settling into lower cells.
Material and construction considerations
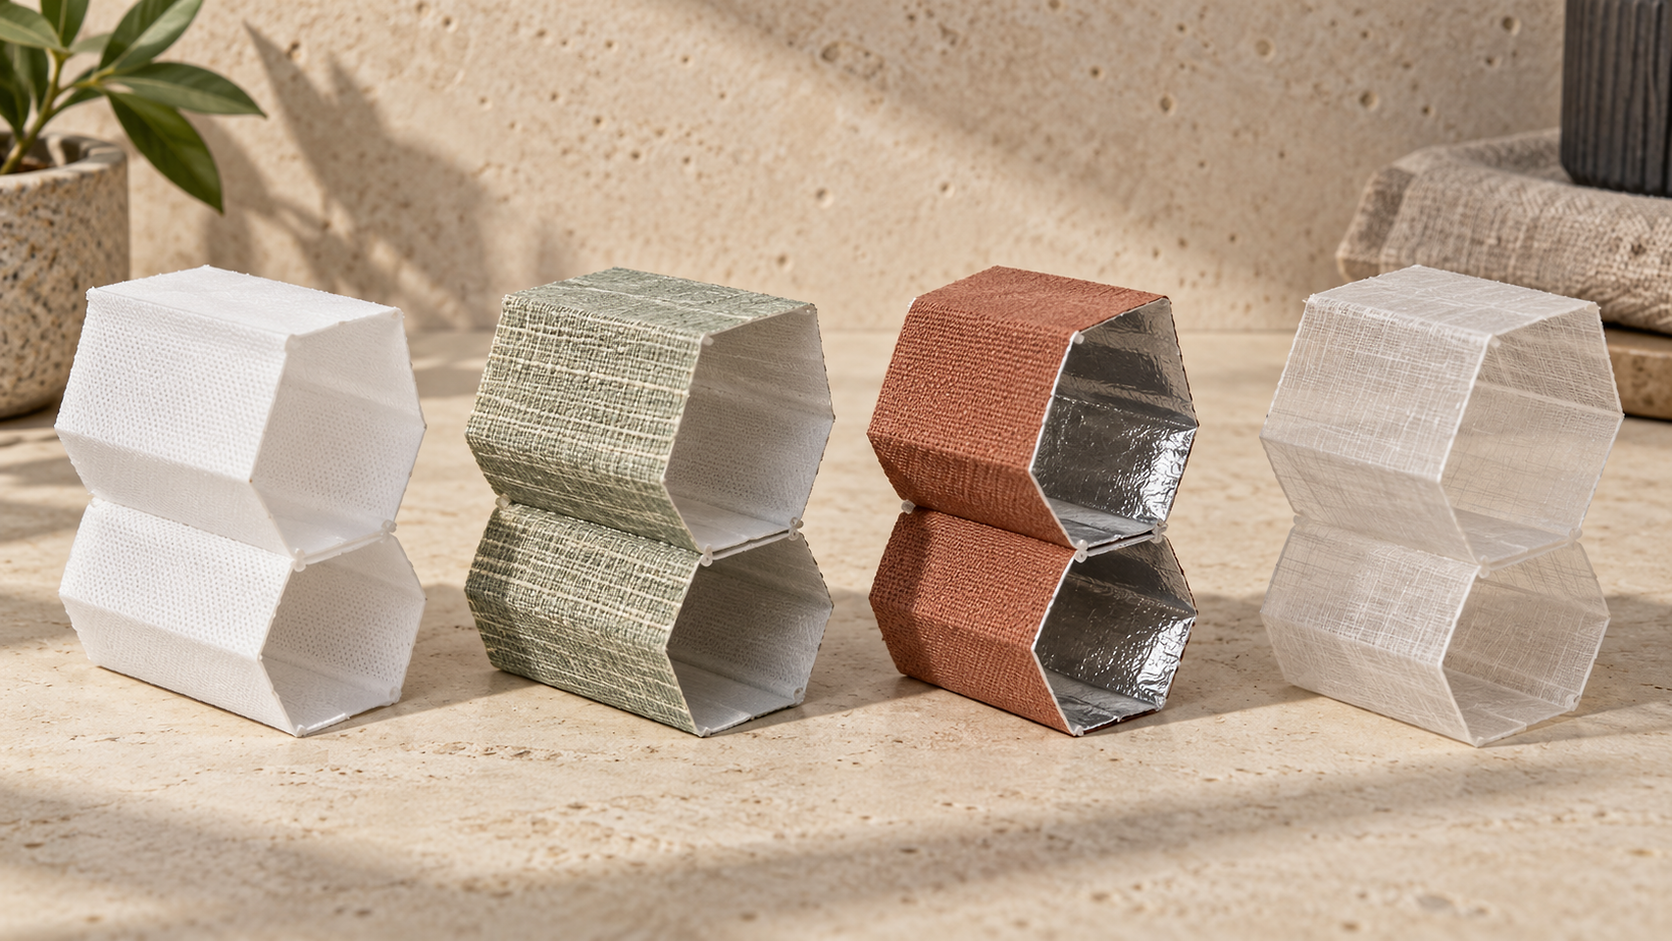
Different cellular materials respond differently to air pressure and mechanical agitation. Non-woven spunlace polyester withstands moderate airflow, whereas woven textures and blackout laminates require tailored handling to avoid structural separation or punctures.
| Material or finish | Suitable method | Avoid or stop when |
|---|---|---|
| Spunlace non-woven polyester | Cool hairdryer blow-through; low-power vacuum | Avoid warm air or damp wiping while dry dust remains inside |
| Woven textile cellular fabric | Gentle low-suction surface vacuuming with brush | Avoid sharp probes that snag decorative cross-threads |
| Mylar/foil-lined blackout double-cell | Direct horizontal cool air stream through cells | Stop if internal foil layer separates, rattles, or pinches |
| Sheer-face cellular fabric | Ultra-low suction held 2 cm away from opening | Avoid compressed-air canisters held closer than 15 cm |
Dislodging adhered debris and spot-cleaning stains
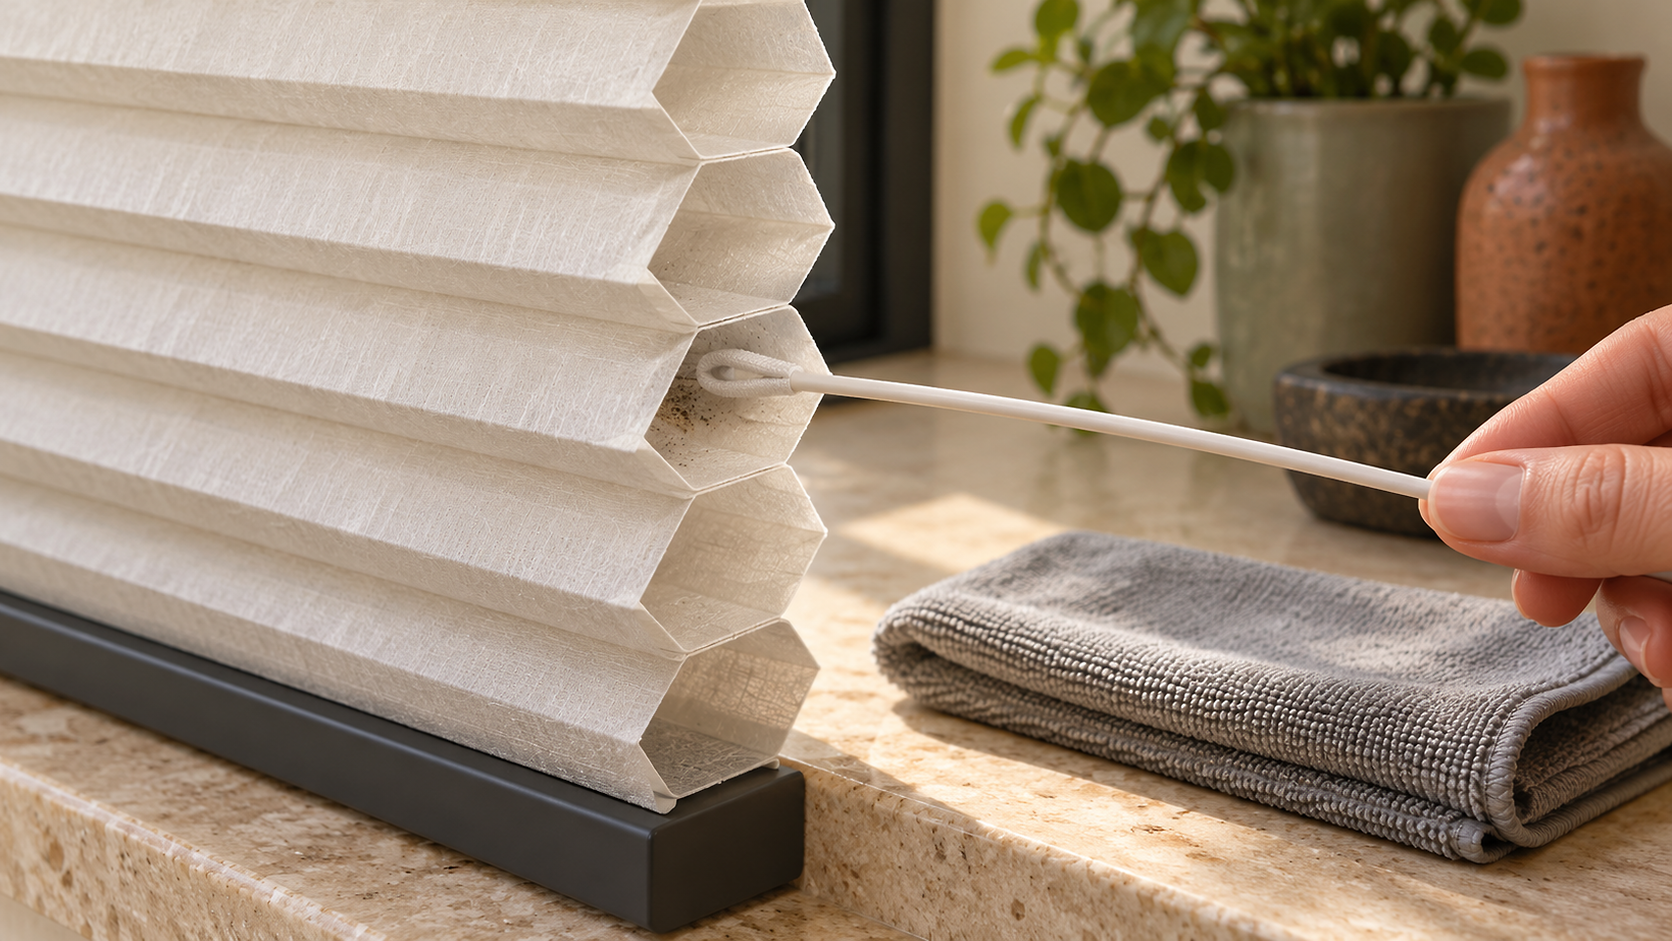
Occasionally, a spider web or insect carcass adheres to the internal fabric wall and resists expulsion via airflow alone. In these situations, controlled mechanical agitation is required, but it must be performed with extreme care to avoid puncturing the outer fabric.
Use a slender, flexible plastic rod, such as a flexible cable tie or plastic-coated line. Ensure the tip is bent back smoothly on itself to prevent sharp edges from snagging the textile. Gently feed the rod into the cell until it reaches the debris, tap the deposit lightly to break its bond with the wall, and immediately reapply the cool air stream to exhaust it.
If the insect has left an organic mark, never soak the cell. Moisten a clean microfibre cloth with lukewarm water and a drop of mild neutral detergent, wringing it out until it is nearly dry. Blot the exterior face of the cell gently against your hand placed inside the channel for backing. Allow the fabric to air-dry completely while fully lowered; folding wet cells together causes the damp pleats to stick and ruin the honeycomb geometry.
Long-term prevention and routine maintenance
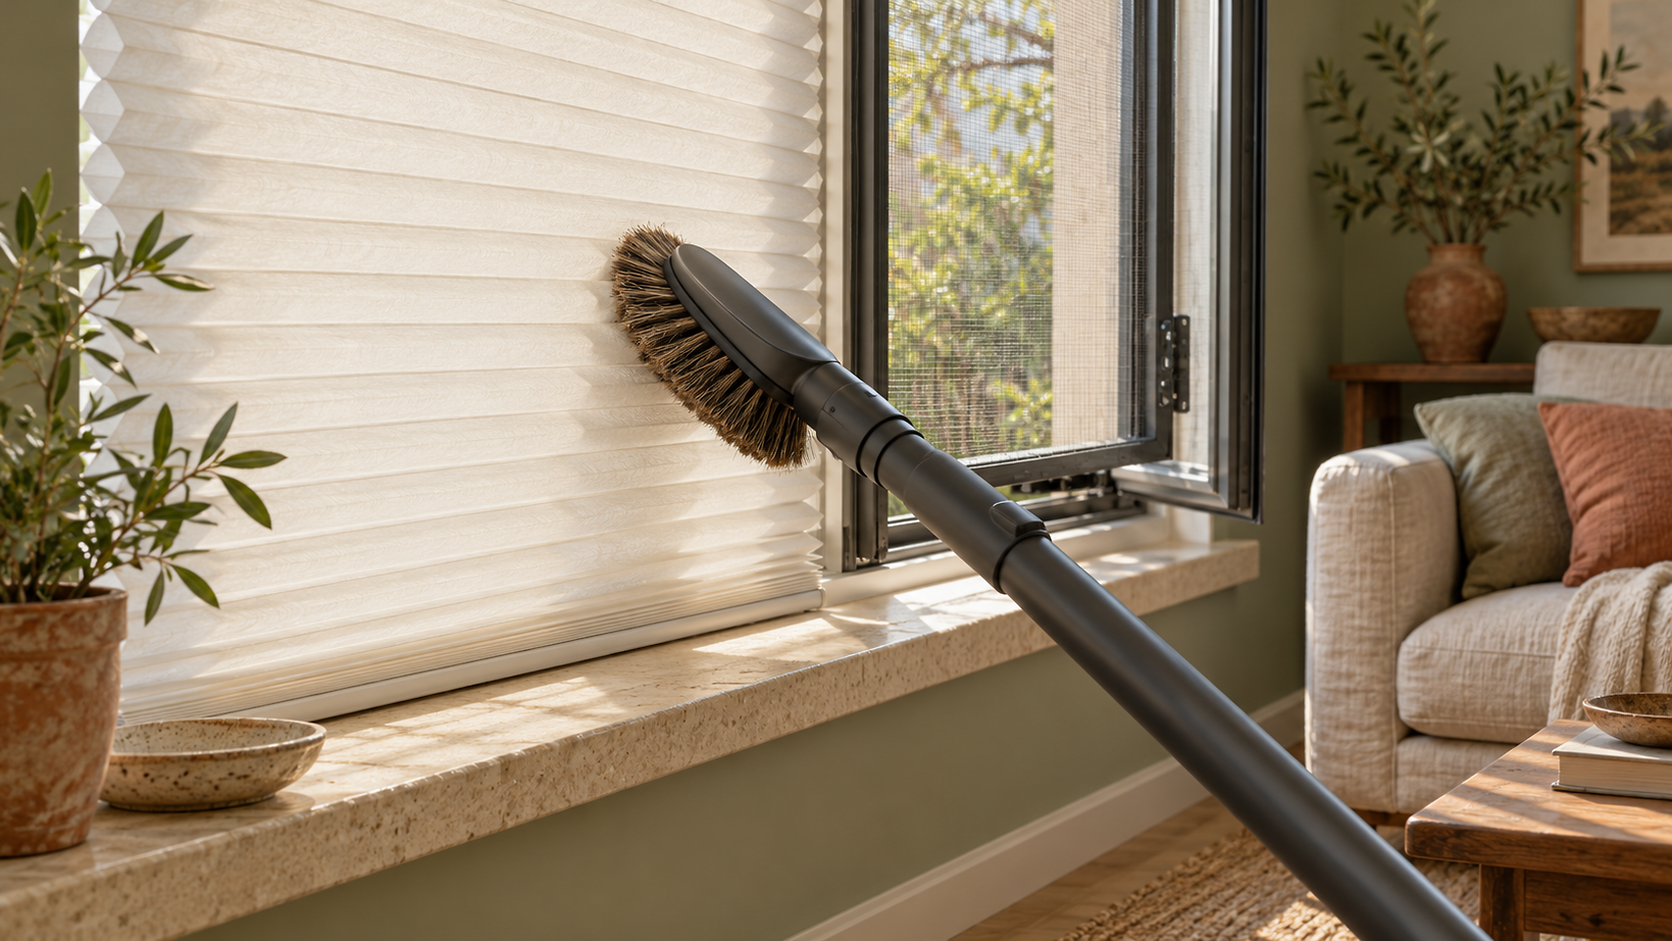
Routine dry maintenance keeps cellular shades clean and extends their operational lifespan. Every two to four weeks, run an upholstery brush attachment or microfibre duster lightly down the front and back folds to remove surface dust before it sifts into the interior cells.
Preventing insect ingress is significantly easier than clearing trapped carcasses from multi-chambered blinds. Inspect the fine mesh window screens on windows behind cellular treatments for small tears, and fit brush seals or magnetic closure strips to screen frames where gaps appear.
Avoid running bright bedside or reading lamps immediately adjacent to cellular shades when nearby windows are open at night, as insects are drawn toward the light and navigate directly into the dark lateral recesses of the open fabric cells.

Further reading
Consult the source for its full care instructions and material restrictions.
Hunter Douglas Honeycomb Shades Care and Cleaning GuideExternal reference · Opens in a new tab Graber Blinds Cellular Shades Product CareExternal reference · Opens in a new tab